 Whatcom County
 New-Construction Windows for Sunnyland Homes
Sunnyland is one of Bellingham's older residential neighborhoods, and the building activity we see there tends to fall into two camps: full teardown-rebuilds on existing lots, and additions or accessory dwelling units going up next to a home that's been standing for decades. Either way, when new-construction windows are going into fresh framing, you get one real shot to do the opening, the flashing, and the window itself correctly before siding and interior finish close everything up. There's no do-over once drywall is hung and trim is painted.
We install new-construction windows across Whatcom County, and Sunnyland's mix of infill lots, mature tree cover, and proximity to Bellingham Bay means these openings face a specific combination of stresses: salt-tinged air moving in off the water, long stretches of driving rain in fall and winter, and a moss and mildew season that runs longer here than it does inland. A window package that ignores any one of those factors tends to show problems within a few years, not decades.
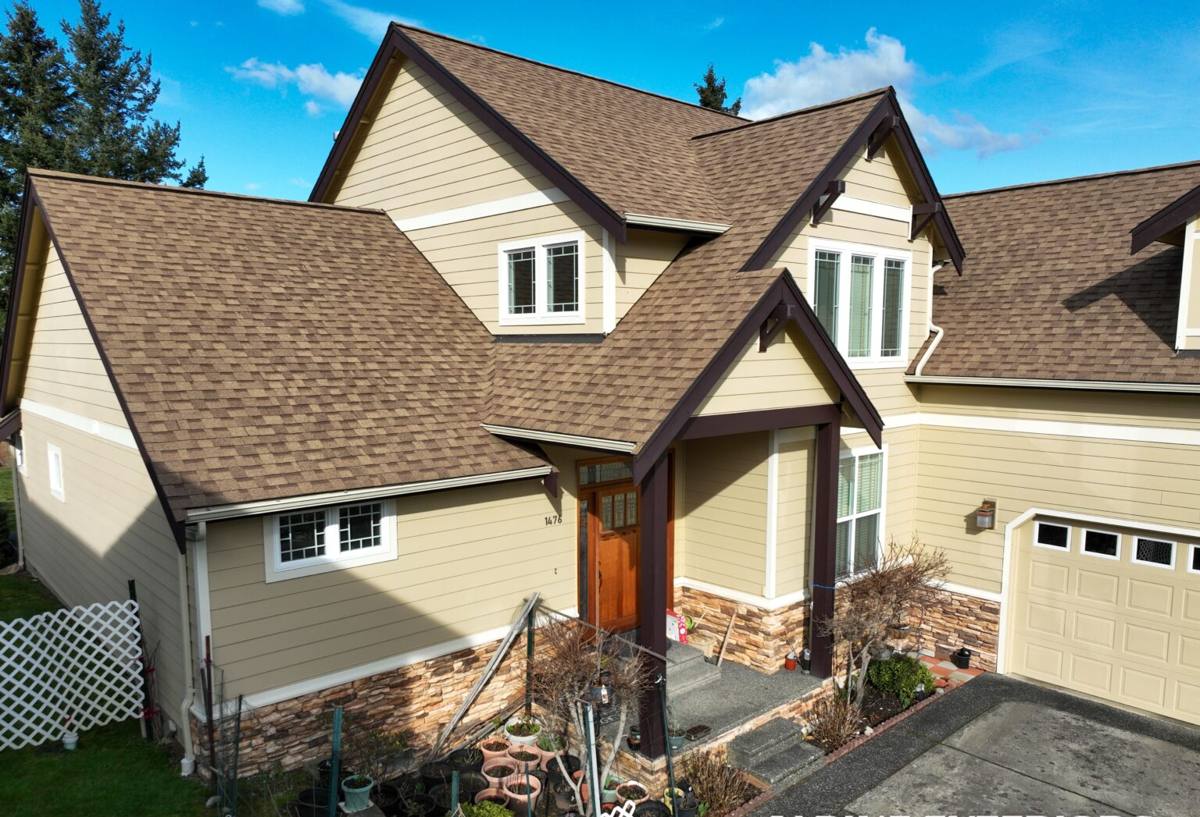
Why "New-Construction" Windows Are a Different Job Than Replacement
New-construction windows have a nailing fin (sometimes called a nail flange) built into the frame, and they're designed to be installed into an open, unfinished rough opening before siding goes on. That's different from a replacement or "pocket" window, which is sized to slide into an existing frame without disturbing the surrounding wall. If your project is new framing — a new build, an addition, or a bump-out — you want the new-construction style, because it lets us integrate the window directly into the house's water-resistive barrier (WRB) and flashing system rather than working around it.
The advantage of doing this at the framing stage is real: we can flash the opening correctly the first time, lap materials in the right order, and tie the window's own drainage plane into the wall's drainage plane before anything is covered up. That's the whole ballgame for long-term performance in a wet climate like ours.
What a Correct Rough Opening Looks Like
- Opening sized to the window manufacturer's specified tolerance — not "close enough"
- Sill pan flashing installed and sloped to shed water to the exterior, not into the wall cavity
- WRB (house wrap or equivalent) cut and lapped so water sheds over the flange, not behind it
- Flashing tape or flexible flashing at jambs and head, installed shingle-style (bottom to top)
- Head flashing that extends past the window trim and integrates with the WRB above it
- Window shimmed plumb, level, and square before fastening — not just "nailed to what's there"
- Backer rod and sealant at the interior and exterior gaps, sized to the manufacturer's spec
What Whatcom County's Climate Does to a Window Opening
We don't get extreme temperature swings here, but we get something arguably harder on a building envelope: sustained moisture. Whatcom County sees a long wet season, and Sunnyland's location near the bay adds a salt-air component that accelerates corrosion on unprotected hardware and fasteners. None of that is dramatic on its own — it's the cumulative exposure that causes trouble.
| Climate Factor | What It Does to a Window Opening | What We Do About It |
|---|---|---|
| Driving rain | Pushes water sideways into gaps around the frame, especially on west- and south-facing walls | Shingle-lapped flashing sequence, properly sloped sill pan, quality sealant at all penetrations |
| Salt-tinged air | Accelerates corrosion on exposed steel fasteners and lower-grade hardware | Corrosion-resistant fasteners and hardware rated for coastal exposure |
| Long moss/mildew season | Organic growth thrives on any surface that stays damp — sills, trim, and cladding near the window | Details that let water shed and dry quickly; no flat or ledge-forming trim details at the sill |
| Overcast, low-UV winters | Slower material drying times mean poor details stay wet longer | Drainage-first flashing so incidental moisture exits instead of sitting |
| Tree cover / shaded lots | Common in Sunnyland — keeps some walls damp longer after rain | Extra attention to head flashing and kick-out details on shaded elevations |
Choosing the Right Window for a Sunnyland Build
Frame material matters more here than in a dry climate, because whatever you choose is going to spend a lot of its life wet or damp. We typically steer new-construction clients in this area toward vinyl or fiberglass frames, both of which handle sustained moisture and coastal air without the maintenance burden that wood or bare aluminum frames carry. That's not a knock on wood windows — they can look great and perform well when properly maintained — it's an honest trade-off: wood needs regular refinishing to keep water out of end grain and joints, and in a climate with this much sustained moisture, that maintenance schedule is unforgiving if it slips.
Fiberglass tends to be the strongest all-around performer for coastal Whatcom County conditions — it doesn't expand and contract as much as vinyl across temperature swings, and it holds paint well if you want a custom color. Vinyl is a solid, more budget-friendly choice and modern vinyl windows perform well here too, as long as the corner welds and reinforcement are good quality. We'll walk through the actual options and price points for your project rather than push one system on every job.
Glass Package Considerations
For new construction in this area, we generally recommend:
- Double-pane, low-E glass as the baseline — the energy performance difference over single-pane or non-coated glass is significant here given our long heating season
- Argon or krypton gas fill between panes for added insulating value
- Warm-edge spacer systems, which resist condensation better at the glass edge — relevant given our humidity
- Triple-pane glass as an upgrade option for north-facing walls, additions with high energy targets, or rooms near the water where wind-driven heat loss is more pronounced
Our Installation Process
New-construction window work happens in a specific sequence, and skipping steps or doing them out of order is where most water problems originate. Here's how we approach it:
- Rough opening check. We verify the opening is framed to spec — square, plumb, and correctly sized — before the window ever shows up on site. Framing errors are far cheaper to fix before a window is set than after.
- Sill pan installation. A sloped, sealed sill pan goes in first, so any water that gets past the window has a path back out instead of into the framing.
- WRB integration. We cut and lap the house wrap so the drainage plane routes water around the opening, not into it.
- Flashing, shingle-style. Jamb flashing goes on before head flashing, and head flashing laps over the WRB above — always working from the bottom up, the same way roofing shingles work.
- Setting the window. We shim to plumb, level, and square, fasten through the nailing fin per the manufacturer's pattern, and check operation (opening, closing, locking) before final fastening.
- Sealing and backer rod. Interior and exterior gaps get backer rod and the correct sealant — not just a bead of caulk smeared over a gap.
- Final inspection. We check flashing laps, operation, and squareness one more time before siding or trim covers the opening.
Common Mistakes We See — and Avoid
Most new-construction window failures we get called to diagnose trace back to a handful of recurring errors:
- No sill pan, or a flat one. Water sits instead of draining, eventually finding its way into the sill framing.
- Flashing installed out of sequence. If head flashing goes on before jamb flashing, or WRB isn't lapped correctly, water gets funneled behind the flange instead of over it.
- Caulk used as the primary water barrier. Sealant is a backup, not a substitute for correct flashing. Caulk-only details fail as soon as the sealant ages or cracks.
- Fasteners that don't match the exposure. Standard hardware corrodes faster in salt-influenced air, leading to loose fins and compromised seals over time.
- Rushed shimming. A window that's slightly out of square binds, leaks at the corners, and wears its hardware unevenly.
Why Local Experience in Sunnyland Matters
A lot of window installation advice you'll find online is written for a generic climate — dry summers, moderate winters, minimal wind-driven rain. That's not what Sunnyland deals with. Crews who work Whatcom County regularly know which elevations take the worst weather, how much lap and overlap actually holds up through a wet Bellingham winter, and which hardware and sealant products hold up to sustained salt-air exposure instead of just performing well in a lab spec sheet. That local pattern recognition is the difference between a window that's still tight in fifteen years and one that needs re-flashing in five.
We also know Sunnyland's building mix — a lot of older homes getting additions or rebuilds means we're often tying new-construction window details into existing wall assemblies, which takes more judgment than a straightforward new build on an empty lot. Getting that transition right, where old wall meets new opening, is exactly the kind of detail that separates a careful installer from a fast one.
Timeline and What to Expect
On a typical new-construction job, window installation happens right after framing and rough inspections, and before siding or exterior trim goes on. For a standard single-family home, setting the full window package usually takes a few days depending on the number of openings and any custom sizes. We coordinate directly with your general contractor or builder if you're managing a larger project, so window installation doesn't become the bottleneck holding up your siding or trim schedule.
If you're building an addition or ADU in Sunnyland, the same process applies at a smaller scale — but the tie-in to existing construction usually means a bit more flashing detail work to get the transition right.
Get a Free Estimate
If you're framing a new build, addition, or ADU in Sunnyland and need new-construction windows installed correctly from the ground up, we're happy to take a look at your plans or your framed opening and walk you through the options. There's no pressure and no obligation — just a straight answer on what your project needs and what it'll cost. Use the form below to request a free estimate.