 Whatcom County
 Birchwood homes take a beating from the weather that most homeowners never see until it's already a problem. Whatcom County's combination of salt-laden air, months of driving rain, and a moss season that can run from fall through spring means siding here ages differently than it does in drier parts of the state. When damage does show up — a soft spot near a downspout, a cracked panel, stubborn green streaking — it's rarely an isolated issue. It's usually a sign that the siding system underneath has been fighting moisture for longer than it should have.
This page covers what siding repair actually involves for Birchwood homes: what causes the damage, what a correct repair looks like, and why hiring a crew that already understands this neighborhood's exposure matters more than it might seem.
Why Birchwood Siding Wears the Way It Does
Every neighborhood in Whatcom County deals with rain, but Birchwood's exposure profile has a few specific factors that shape how siding fails:
Salt Air
Proximity to Puget Sound means airborne salt is a constant, low-grade presence on exterior surfaces. Salt accelerates corrosion on fasteners, flashing, and any exposed metal trim. On siding materials that aren't dimensionally stable, it also speeds up the breakdown of paint films and caulk joints, which are the first line of defense against water intrusion.
Driving Rain
Whatcom County doesn't just get a lot of rain — it gets a lot of wind-driven rain, which behaves very differently than a straight-down shower. Driving rain gets pushed sideways into laps, seams, and butt joints that were never designed to shed water horizontally. Over years, this is what turns a hairline gap into a moisture pathway.
Moss and Organic Growth
Shaded north- and west-facing walls, combined with a long wet season, create ideal conditions for moss, algae, and mildew to take hold on siding surfaces. Beyond the cosmetic issue, moss holds moisture against the material far longer than open air would, which is a slow but steady contributor to rot and substrate damage — especially at the bottom courses near grade and around foundation planting beds.
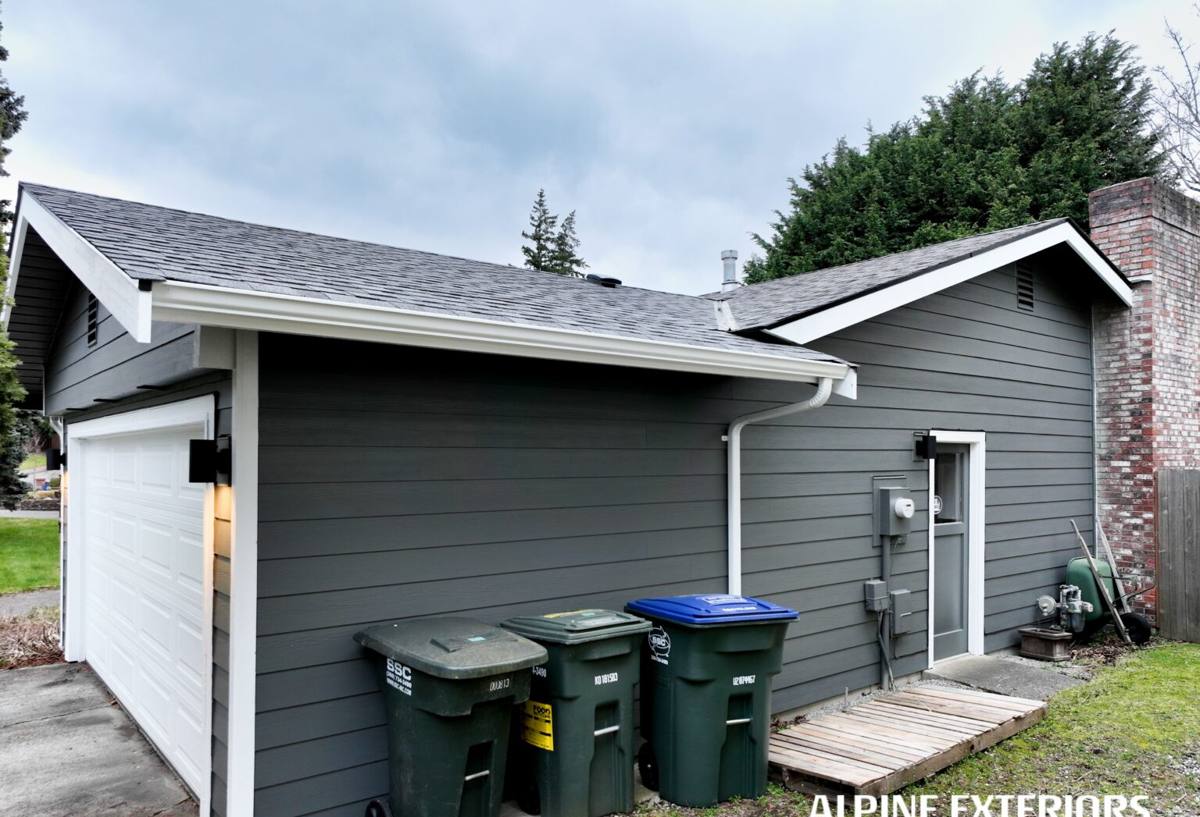
What Siding Damage in Birchwood Actually Looks Like
Homeowners usually notice one of a handful of warning signs. None of them should be ignored, and none of them are purely cosmetic:
- Soft or spongy panels — usually near ground level, under windows, or below roof valleys where water concentrates
- Persistent dark streaking or green film — especially on shaded elevations, indicating moisture is lingering on the surface
- Cracked, warped, or buckled panels — often from moisture cycling (wet, dry, wet again) breaking down the material over time
- Peeling paint or failed caulk joints — an early sign that the protective seal has given out, well before the siding itself looks damaged
- Visible gaps at corners, trim, or butt joints — entry points for wind-driven rain
- Rust staining below fasteners or flashing — a symptom of salt-accelerated corrosion
Any one of these can look minor from the ground. The real question is always what's happening behind the panel — which is why a proper repair starts with more than a visual glance.
What a Correct Repair Actually Involves
A lot of siding "repairs" amount to patching the visible symptom without addressing what caused it. That approach tends to fail again within a season or two, especially in a climate like Whatcom County's. A repair done right follows a different sequence:
1. Diagnose Before Touching Anything
We start by identifying the actual water path — not just where the damage is visible, but where moisture is getting in. Damage at the bottom of a wall can originate from a flashing failure several feet higher up. Fixing the visible spot without tracing the source just buys time.
2. Check What's Underneath
Once panels are removed, we inspect the house wrap or building paper, sheathing, and framing behind the siding. If there's rot in the substrate, replacing siding over it doesn't solve anything — it just hides the problem until it's bigger and more expensive.
3. Repair or Replace the Damaged Sections
Depending on the extent of damage, this means replacing individual boards, panels, or trim pieces — matched properly to the existing siding's profile, exposure, and finish so the repair doesn't stand out or create a new weak point.
4. Rebuild the Water Management Details
Flashing, caulking, and lap details are where most repairs succeed or fail. Rebuilding these correctly — not just re-caulking over old failures — is what actually stops the cycle of recurring damage.
5. Address the Moss and Growth Issue at the Source
Where organic growth was a factor, we look at why that section stayed wet — poor drainage, vegetation too close to the wall, inadequate clearance from grade — and address it where practical, not just clean the surface and move on.
Repair vs. Replacement: How We Help You Decide
Not every siding problem calls for a full replacement, and not every problem is fixable with a patch. The table below outlines the factors that typically drive that decision.
| Factor | Leans Toward Repair | Leans Toward Replacement |
|---|---|---|
| Extent of damage | Isolated to one or two sections | Recurring across multiple elevations |
| Substrate condition | Sheathing and framing are sound | Rot has spread into structural framing |
| Age of existing siding | Mid-life, otherwise performing well | Near or past expected service life |
| Material match | Matching panels/profile still available | Discontinued or mismatched product |
| Root cause | Isolated flashing or caulk failure | System-wide water management issue |
We'll give you an honest read on which category your home falls into — including telling you when a repair is the smarter, more cost-effective call, and when patching a larger problem would just be delaying the inevitable.
Why Local Experience in Birchwood Matters
Siding repair isn't a one-size-fits-all trade. A crew that mostly works drier inland climates will diagnose Birchwood damage differently than one that works Whatcom County's coastal exposure every week. Knowing which elevations in this neighborhood typically take the worst of the driving rain, which wall orientations hold moss longest, and how salt air affects fastener choice isn't something you learn from a manual — it's something you learn from doing the work here repeatedly.
That local pattern recognition changes how a repair gets approached. It affects fastener selection, flashing details, and even which sections of a wall get extra scrutiny during inspection, because we've already seen where problems tend to originate on homes with this kind of exposure.
What We Use for Repairs — and Why
When a repair calls for new siding material — whether it's a full section replacement or matching in a few damaged boards — we use James Hardie fiber cement exclusively. We don't install vinyl, LP SmartSide, cedar, primed spruce, Cemplank, or Allura, and that's a deliberate standard, not a sales pitch.
In a climate defined by salt air, sustained moisture, and heavy moss pressure, the material matters. Fiber cement is non-combustible and dimensionally stable — it doesn't expand and contract with moisture the way wood-based products do, which is a major factor in why caulk joints and paint films fail prematurely on other materials in this climate. Hardie's ColorPlus factory finish is baked on under controlled conditions, which holds up better against UV and moisture exposure than field-applied paint, and their HZ5 product line is engineered specifically for cold, wet climates like ours. Backed by a strong transferable warranty, it's the product we're willing to stand behind when we're the ones putting our name on the repair.
When we're matching into existing non-Hardie siding, we'll be straightforward with you about the limitations of doing that versus what a full transition to Hardie would offer — no upselling, just the honest tradeoffs.
Maintenance That Extends the Life of a Repair
A well-executed repair still needs some basic upkeep to hold up long-term in this climate:
- Rinse siding annually to clear salt residue and organic buildup before it takes hold
- Trim back vegetation and shrubs to keep airflow moving across wall surfaces
- Check gutters and downspouts each fall — clogged gutters are one of the most common causes of repeat siding damage
- Inspect caulk joints and trim annually, especially after the first winter following a repair
- Address moss at first sign rather than letting it establish, particularly on shaded elevations
Our Repair Process
When you reach out about a siding repair in Birchwood, here's what to expect:
- An on-site inspection where we assess visible damage and check for signs of what's happening underneath
- A clear explanation of what we found, what's causing it, and whether repair or replacement makes more sense for your situation
- A written estimate with no pressure to decide on the spot
- If you move forward, a repair scoped to actually solve the problem — not just cover it — using materials matched to your home
- A final walkthrough so you know exactly what was done and what to keep an eye on going forward
If you're seeing early signs of siding trouble on your Birchwood home — soft spots, staining, or recurring moss — it's worth having it looked at before the next wet season adds to the damage. We offer free, no-pressure estimates; fill out the form below and we'll take a look.