 Whatcom County
 New-Construction Windows Built for South Hill's Weather
South Hill sits up on the slope above downtown Bellingham, close enough to Bellingham Bay that salt-laden air reaches the neighborhood on a regular basis, and exposed enough to Whatcom County's driving rain and wind that window installation details matter more here than they would somewhere sheltered and inland. When a home is being framed new or an addition is going up, the window openings are one of the few chances a builder gets to do moisture control right the first time — before siding, trim, and interior finishes cover up the work. Get it wrong at this stage and the problems don't show up for a few years, usually as staining, soft trim, or a slow leak that's hard to trace.
New-construction window installation is different from a retrofit or replacement job. There's no old window to remove and no existing flashing to work around — the rough opening is built to spec, and the window gets integrated into the wall's water-resistive barrier from scratch. That's an advantage if it's done correctly, because every layer can be sequenced properly. It's also where a lot of shortcuts get taken on production builds, because the work is fast and mostly gets covered up within days.
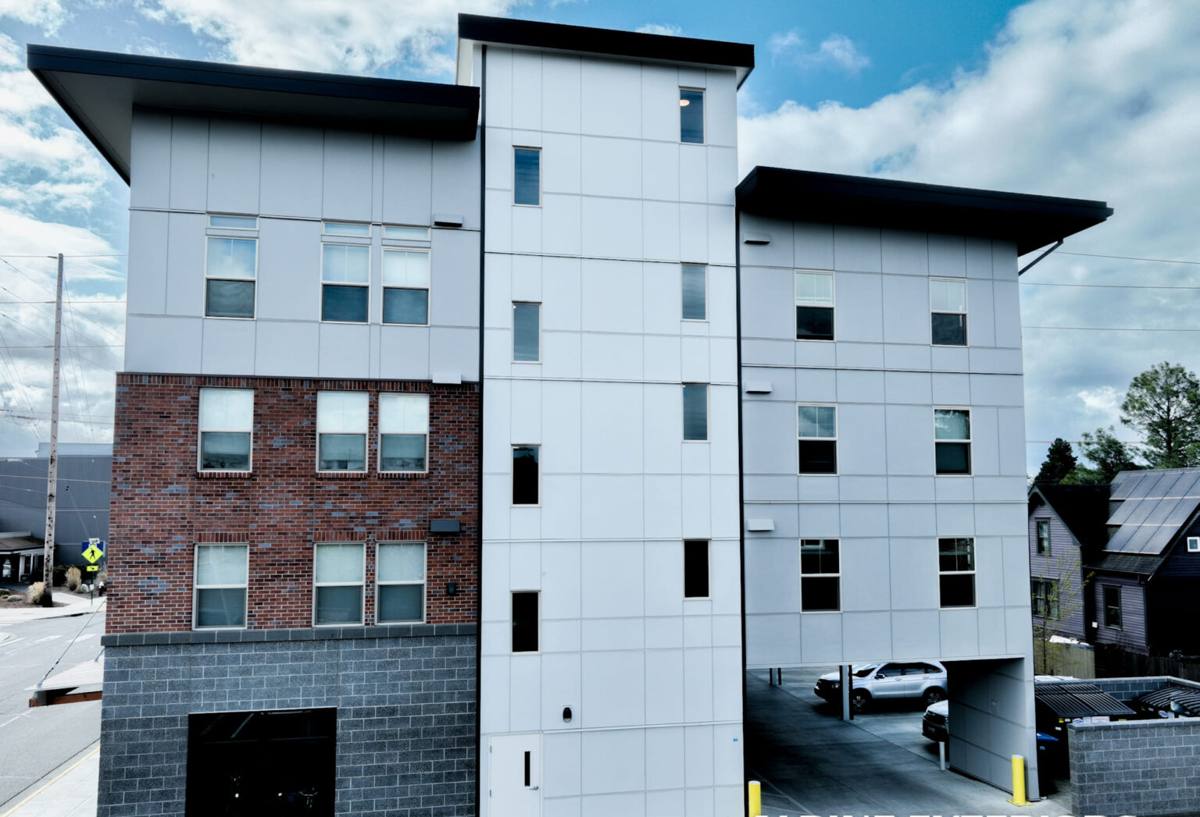
Why South Hill's Conditions Change the Job
Three things about this part of Whatcom County shape how we approach new-construction window work here:
Salt Air
Proximity to the bay means fasteners, flashing tape, and window hardware are exposed to a corrosive element that inland Whatcom County homes don't deal with as much. We favor corrosion-resistant fasteners and flashing components rated for coastal exposure, and we pay attention to any dissimilar-metal contact points that can corrode faster near salt air.
Driving Rain
Wind-driven rain doesn't just fall straight down — it gets pushed sideways and upward under trim and behind siding laps. A window flashing detail that would be fine in a calmer climate can fail here if the laps aren't sequenced correctly or if sill pans aren't sloped and sealed to shed water back out. South Hill's elevation and orientation catch a fair amount of that wind-driven weather.
Long Moss Season
Extended damp, shaded stretches of the year mean anything that traps moisture against wood — a poorly lapped house wrap, a missing sill pan, a caulk joint used in place of proper flashing — has months to do damage before it ever dries out. Moss and mildew are cosmetic symptoms; the real concern is what's happening to the sheathing and framing underneath.
What a Correct New-Construction Window Installation Involves
There's a specific order of operations that keeps water moving out of the wall assembly instead of into it. Skipping steps or doing them out of order is the single biggest cause of window-related water damage in new construction.
- Rough opening prep — squaring, leveling, and confirming the opening is sized correctly before the window ever shows up on site.
- Sill pan flashing — a sloped, sealed pan at the bottom of the opening so any water that gets past the window has a path back outside instead of soaking into the framing.
- Weather-resistive barrier integration — the house wrap or building paper is lapped in the correct shingle-style order (top layer over the one below) so water sheds down and out, never sideways or up into a seam.
- Window flashing tape — jambs and head flashed in sequence, tied properly into the WRB above and below.
- Setting and fastening the window — plumb, level, square, and fastened per the manufacturer's schedule, not just "close enough."
- Insulation and air sealing — the gap between the window frame and rough opening gets filled with a low-expansion foam or backer rod and sealant, not left open or overpacked.
- Exterior trim and sealant — the visible finish work, done last, so it doesn't cover up a flashing mistake underneath.
Every one of those steps is a separate opportunity to do it right or cut a corner. On a production framing schedule it's tempting to rush the flashing steps because they're slow and fussy compared to just setting the window and moving on. That's exactly where problems start.
Our Process on a South Hill New-Construction Job
We coordinate with the builder or general contractor rather than working in isolation, because window flashing has to tie into the broader wall assembly — the house wrap, the siding plan, and sometimes the deck or porch flashing nearby. Our process on new-construction work looks like this:
- Review the rough openings and window schedule against the plans before installation day, catching sizing or sequencing issues early.
- Confirm sill pan and flashing materials are rated for this climate, including corrosion resistance for the coastal exposure South Hill sees.
- Install in the correct order — pan, WRB integration, jamb and head flashing, window, air seal, trim — with no steps skipped to save time.
- Photo-document flashing details before they're covered by siding, so there's a record of what's behind the finish work.
- Walk the finished openings with the builder before final trim goes on, catching anything that needs correcting while it's still accessible.
We're not the framing crew and we're not the siding crew — window installation sits between those trades, and it's common for responsibility to get fuzzy about who owns which detail. We're clear about our scope up front so nothing falls into a gap between crews.
Window Types and How They Perform Locally
Most new-construction jobs in this area use vinyl or fiberglass-framed windows, with occasional wood-clad units on higher-end builds. The table below covers general trade-offs relevant to Whatcom County's damp, salt-exposed conditions — not a recommendation of one brand over another.
| Frame Material | Moisture Behavior | Maintenance | Typical Use |
|---|---|---|---|
| Vinyl | Won't rot; expands/contracts with temperature swings | Low — occasional cleaning | Most standard new-construction builds |
| Fiberglass | Very stable dimensionally, holds up well to damp cycling | Low | Higher-exposure walls, larger units |
| Wood-clad | Good if the cladding and flashing details are correct; interior wood needs protection | Higher — finish maintenance over time | Design-driven choices, interior wood aesthetic |
| Aluminum | Conducts cold and can condense in our damp climate without a thermal break | Moderate | Less common in residential new construction here |
We install based on what the builder and homeowner have specified for the project, and our job is making sure whatever product is chosen gets flashed and sealed correctly for South Hill's conditions — that detail work matters more to long-term performance than the frame material itself.
What to Check Before Siding Goes On
If you're a homeowner working with a builder, or a builder who wants a second set of eyes, here's a practical checklist for the window stage before the exterior finish covers everything up:
- Sill pans are present, sloped toward the exterior, and sealed at the corners — not just a bead of caulk along the bottom of the opening.
- House wrap laps follow shingle order (upper courses over lower) at every window, with no reverse laps.
- Flashing tape is fully adhered, with no fishmouths, gaps, or wrinkles at corners.
- Windows are shimmed and fastened per the manufacturer's instructions, not just tacked in place.
- Weep holes and drainage paths on the window itself are clear and unobstructed.
- Gaps between frame and rough opening are sealed with appropriate low-expansion foam or backer rod, not overfilled.
- Exterior trim and sealant are applied last, over — not instead of — proper flashing.
If a builder can't walk you through these details or won't let you look before siding goes on, that's worth asking about directly.
Why Hire a Crew That Already Works South Hill
Flashing details that work fine in a low-exposure inland location can underperform on a site that catches wind-driven rain off the bay and sits under a long stretch of damp, shaded months every year. A crew that installs windows across Whatcom County regularly sees how these details hold up over time — which sequencing mistakes actually cause callbacks, and which flashing choices are worth the extra time on a South Hill site specifically. That's not something you get from a generic installation checklist; it comes from doing the work in this exact climate, on this exact terrain, repeatedly.
We also understand how new-construction scheduling works — coordinating around framing crews, siding crews, and inspection windows so window installation doesn't become the bottleneck on a build timeline, without cutting the flashing steps short to keep pace.
Timing and Coordination on a Build Schedule
New-construction window installation typically happens after the building is dried in (roof and WRB on) and before siding starts. On most South Hill projects that's a tight window in the schedule, and delays on either side — framing running long, or siding crews waiting on us — can ripple through the rest of the build. We coordinate directly with builders on timing, and we don't rush flashing steps to hit a date. If the schedule is tight, the better fix is planning the window trade earlier in the sequence, not skipping steps once we're on site.
If you're planning a new build or addition in South Hill and want a crew that treats window flashing as seriously as the framing and roofing around it, we're happy to walk the plans with you or your builder. Reach out for a free, no-pressure estimate using the form below.